New Year 2023 Craft Space Organization Challenge #3 ~ Photos
I know that the paper challenge can be a bit overwhelming but I hope you gave it a shot. Even if you SPACEd through just some of your papers you are ahead of the game. Next time . . .
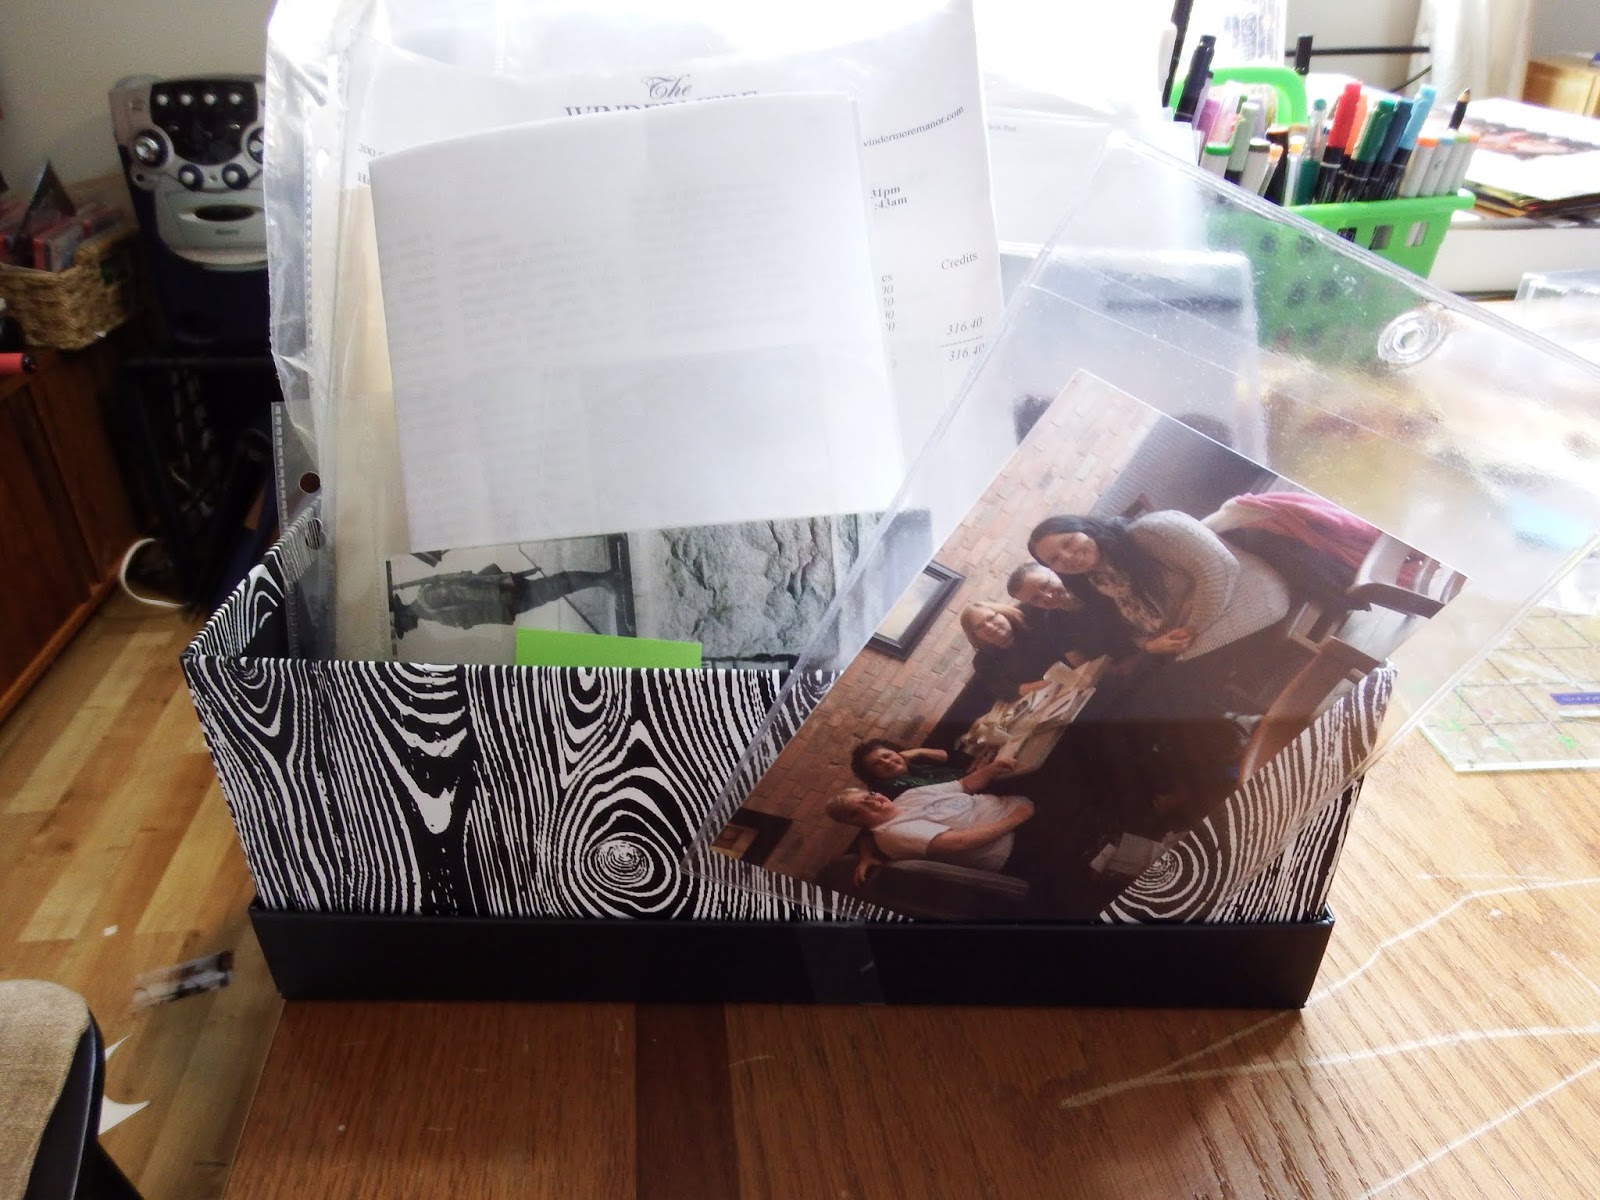
I'm still working on sorting through my papers and packing page kits. Its taking a little longer than usual because I'm changing my system up a bit. I'll share photos of the finished challenge when I'm done . . . which I hope will be soon.
 |
I'm almost ready for Challenge #3 ~ Photos

So, your paper is beautifully organized, your scraps carefully stashed or purged, and your desk is gleaming! You are starting to get organized. Doesn't it make you feel creative? Don't you want to get cropping? Well, you CAN'T scrapbook without PHOTOS!
Our third challenge is to organize our photos. Here is an excellent article to get you thinking about how to organize those precious photos before we start to S.P.A.C.E. them:
https://www.scrapbook.com/articles/organizing-and-storing-your-photos-and-negatives
Please take a moment and read this excerpt from Design Strategies for Scrapbookers:
Photo preservation begins with safe storage. Remove photos stored in the old magnetic albums immediately. A magnetic album has cardboard pages with adhesive on them and a plastic sheet to cover the photos. The adhesives and plastics in these albums are highly acidic and can ruin your photos very quickly.
To safely remove photos from magnetic albums you can use:
1. Dental floss – Slip a piece of dental floss under one corner of the photo and use a gentle back-and-forth sawing motion to lift the photo.
2. Blow Dryer – Set your blow dryer on low heat to soften the page’s glue and then carefully lift the photo.
3. Spatula/pan scraper – Use a thin spatula to slowly pry photos loose.
4. Undu Adhesive Remover – Undu neutralizes adhesive’s stickiness, making photos easy to remove. It dries clear and will not damage photos or smudge most inks.
5. I have heard about freezing the pages first but I’ve never tried it so use at your own risk.
Use an acid-free photo box with dividers or an archival quality photo album for storage. Organize photos chronologically or by theme, event or subject depending on how you scrapbook. Write notes on the dividers or on the back of the photo for later reference. Don’t use ballpoint pen to write on backs of photos. Buy a special photo-marking pen or pencil.
Always save original photos if they are one of a kind and can’t be replaced. This is especially important with heritage photos. Instead, scan and print new copies, storing the original for safe-keeping. If you are determined to use the original, use photo corners to adhere these precious photos to your layouts so they can be safely removed.
I just had a reminder of this rule recently. I’ve been working on a family tree album and needed some baby pictures. I scrapbooked all my baby pictures when I first started scrapbooking many years ago. And that was the problem. I had cut them all in shapes and used decorative scissors on them. Not one was complete enough for me to scan and reprint. My mom and aunt are going through their old photos in hopes they have some originals. So I can’t emphasize enough how important it is to save original photos. Scan the originals and have them reprinted.
Don’t forget to properly store and organize negatives. Plastic negative sleeves will hold 4-7 negatives, depending on brand and the size of film. If you have older negatives in smaller sizes (such as 110) you can easily create subdivisions in the sleeves with a sewing machine and clear nylon thread. You can store negative sleeves in a 3-ring binder or folder. Label each sleeve with the date and/or subject.
Digital photos have their own set of rules. Always back up your computer files, including your digital photo files because computers crash and hard drives fail. Store a back up copy of your photos and important documents to an external hard drive. You can also download your digital photos to CD’s or USB drives although there is some debate as to how long they last. There are many online sites that you can save your photos to as well.
When you are looking for a safe place to store your memorabilia, photographs, negatives, supplies and albums, keep in mind that they will do best in a dry, cool place, out of direct sunlight.
SORT:
Gather together all of your photos, and sort them into categories that make sense:
TRASH (it's okay to throw out photos with bad colour, expression, composition. Why keep them? You're not going to scrapbook them)
TO SCRAPBOOK (the shots you know you are going to use)
TO STORE (photos that need to be kept, but aren't necessarily going to be going into your scrapbooks)
TO GIVE AWAY (doubles that you want to send to friends and family)
PURGE:
Throw out the TRASH pile. Put the TO GIVE AWAY photos in envelopes and mail them to friends/family, or put them in your car so you can drop them off the next time you visit. Do not leave them in your studio, or they will creep back into your organized space.
ASSIGN:
Sort the TO STORE and TO SCRAPBOOK groups of photos into a system that makes sense to you:
Chronologically
Holiday/Event/Vacation
Person
CONTAINERIZE:
Now it's time to decide how you want to store your photos. Perhaps you want to put your TO STORE photos in acid free envelopes or albums. Perhaps you want to put your TO SCRAPBOOK photos into photo storage boxes, or accordion folders.
Make sure to label whatever storage containers you choose to use. Ideas for labelling include:
* buy premade labels that you can write on,
* create your own labels using a labeler or a cutting machine, or
* make labels with chalkboard vinyl so you can write on it with chalk and relabel later if necessary.
Whatever you decide, in the end all that matters is that you’ve got a label on it.
EQUALIZE:
Next time you get new photos from the photo processor, spend a couple of minutes and put the photos where they belong: throw out the bad shots, give away the extras, put the keepers away in their album, and sort your photos for scrapbooking into their container.
We have a Facebook group as a place for us to share photos, accomplishments, encouragement, tips and tricks as we work through the Challenge. You are welcome to post before and after photos of your photo challenge here.


Comments
Post a Comment